Origami Robotics

Designing the onboarding flow, SDK playground, and brand identity for a YC-backed robotics startup in ten weeks.

Client

Origami Robotics (YC WI ‘26)

Timeline

10 Week Sprint 2026

Role

Senior Product Designer

Team

4 Designers, 2 Founders

Origami Robotics

Designing the onboarding flow, SDK playground, and brand identity for a YC-backed robotics startup in ten weeks.

Client

Origami Robotics (YC WI ‘26)

Timeline

10 Week Sprint 2026

Role

Senior Product Designer

Team

4 Designers, 2 Founders

Origami Robotics

Designing the onboarding flow, SDK playground, and brand identity for a YC-backed robotics startup in ten weeks.

Client

Origami Robotics (YC WI ‘26)

Timeline

10 Week Sprint 2026

Role

Senior Product Designer

Team

4 Designers, 2 Founders

Role and key contributions

Role and key contributions

Senior Product Designer, defined AI-assisted workflows, worked with founders to scope project

Key Contributions

  • Led design efforts, taking work from ambiguous requirements through exploration and execution

  • Designed 5+ core SDK flows and delivered a north-star experience for how developers could interact with the platform

  • Created 20+ visual and brand assets to establish a more cohesive product identity

  • Designed and contributed to the company website, connecting the product's technical capabilities to a clearer external story

  • Worked directly with the founding team to rapidly synthesize feedback and iterate within the constraints of an early-stage startup

Overview

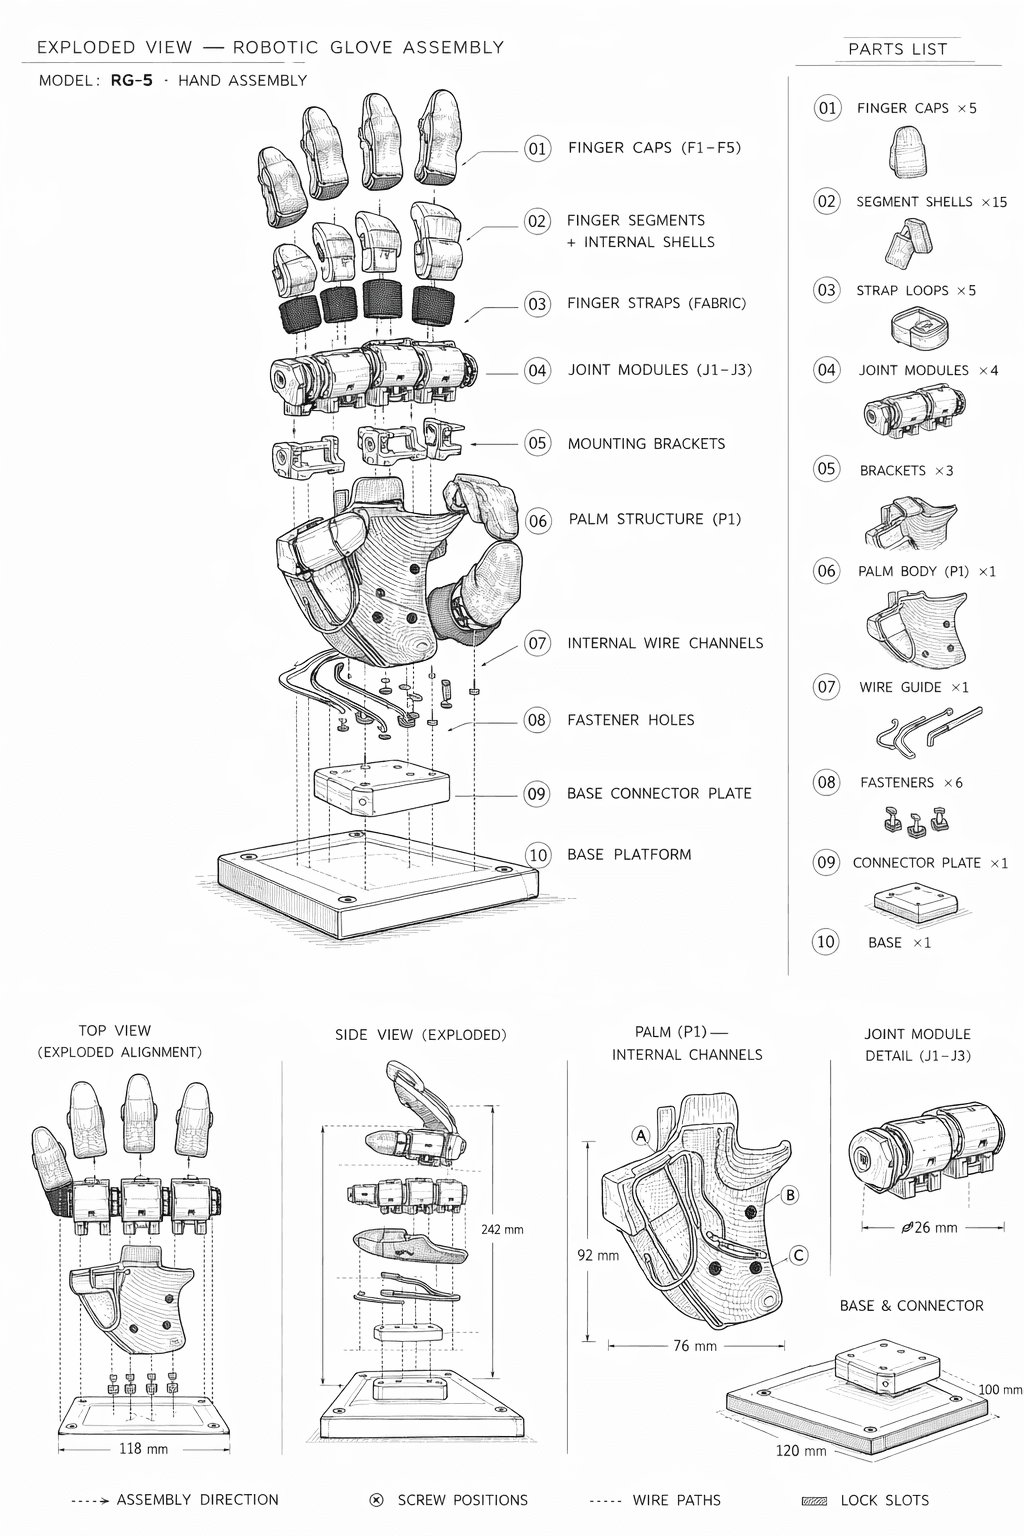
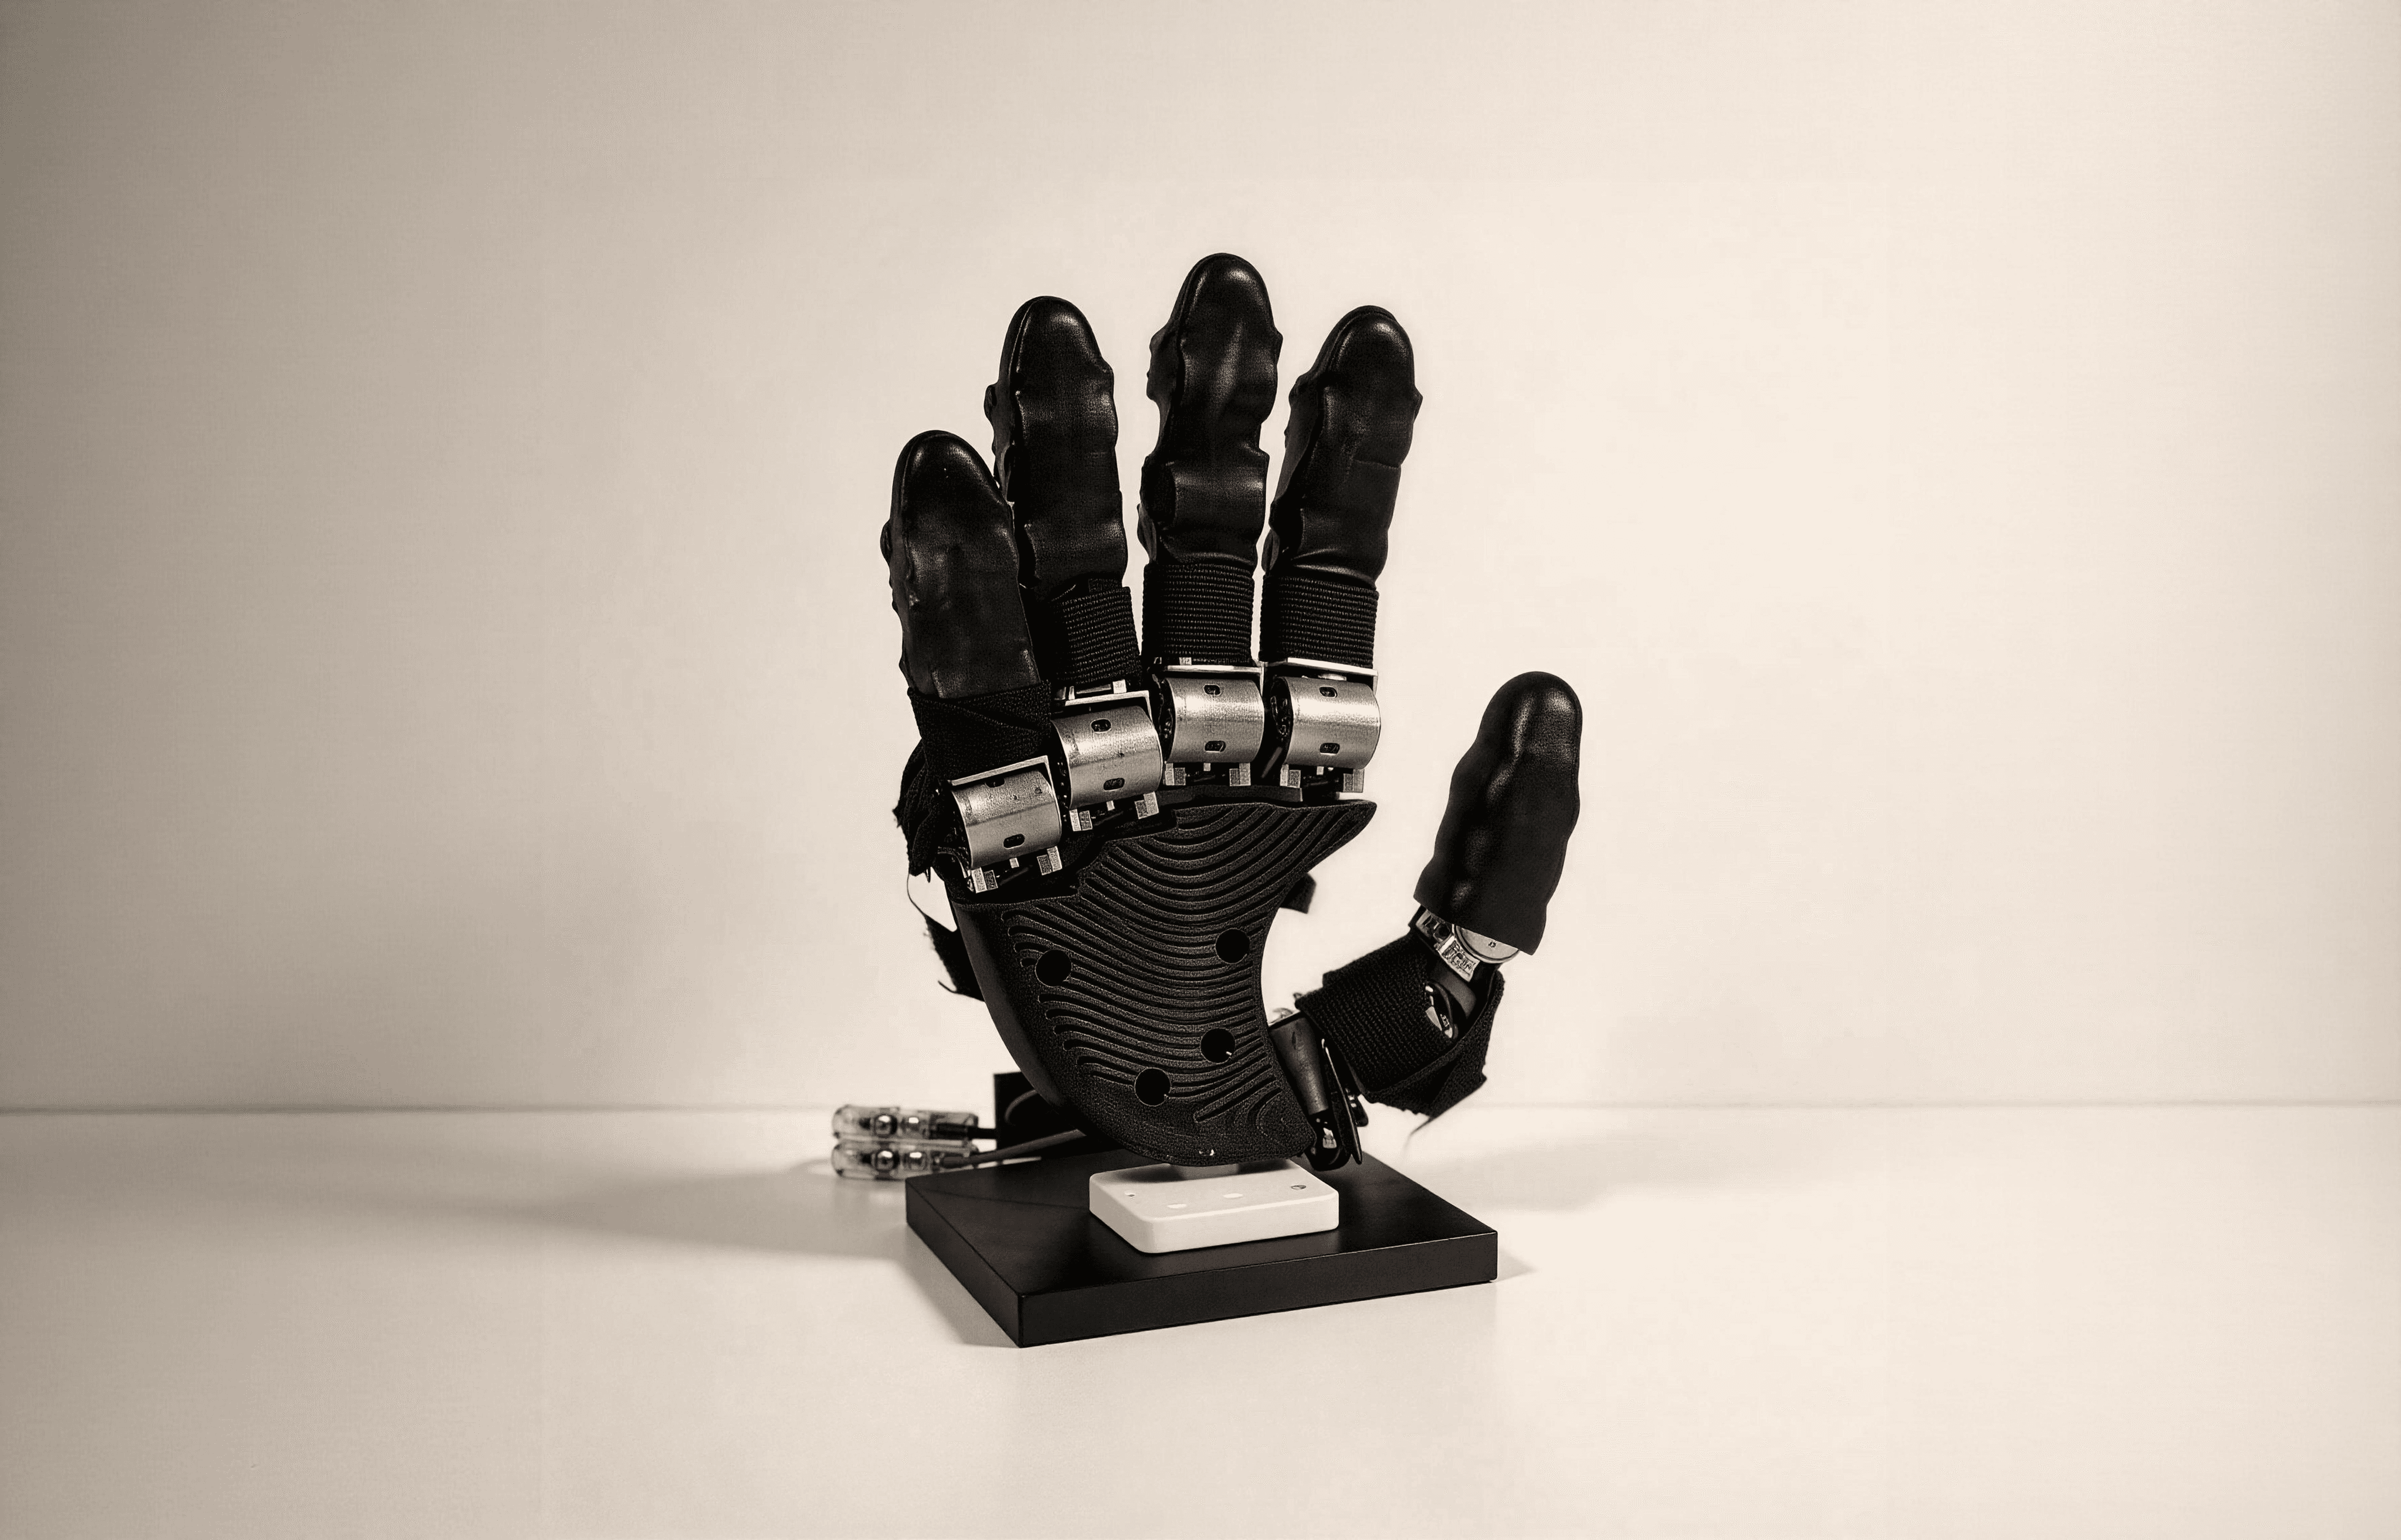
Origami robotics needed a way for users to easily interact with their robotic hand prototype. The commercial prototype will be manipulated through a teletraining dashboard, and will be rolled out to factories, research labs, and warehouses to collect data on fine gesture manipulation.

Pictured above: Linkedin viral video of Origami robotics’ hand prototype.

The Challenge

Adapting a technically complex product for non-technical users...

Origami’s main customers are not roboticists and may be considered robotics-naive. Robotics setup is intimidating for first time users. Before interacting with the robotic hand, first-time users must complete several setup and configuration steps that can feel technical and overwhelming.

Pictured above: Existing hand-interaction interface used by the founders.

How might we improve the end-to-end experience for new users?

How might we improve the end-to-end experience for new users?

We mapped two clear user touchpoints.

Onboarding

Onboarding

Playground/SDK

Playground/SDK

Onboarding Flow

Onboarding Flow

Designed to simplify robotic hand setup for non-technical users.

Introduce the setup wizard and guide the users through the onboarding flow.

Guiding the user through connecting hardware and software, so the system is ready for use.

Run automated diagnostics to check the system is ready to function properly in the background.

Help the user calibrate the robotic hand for accurate motion capture.

Provide a setup summary and pathway for the user to access the SDK.

Introduce the setup wizard and guide the users through the onboarding flow.

Guiding the user through connecting hardware and software, so the system is ready for use.

Run automated diagnostics to check the system is ready to function properly in the background.

Help the user calibrate the robotic hand for accurate motion capture.

Provide a setup summary and pathway for the user to access the SDK.

Playground/SDK

Playground/

SDK

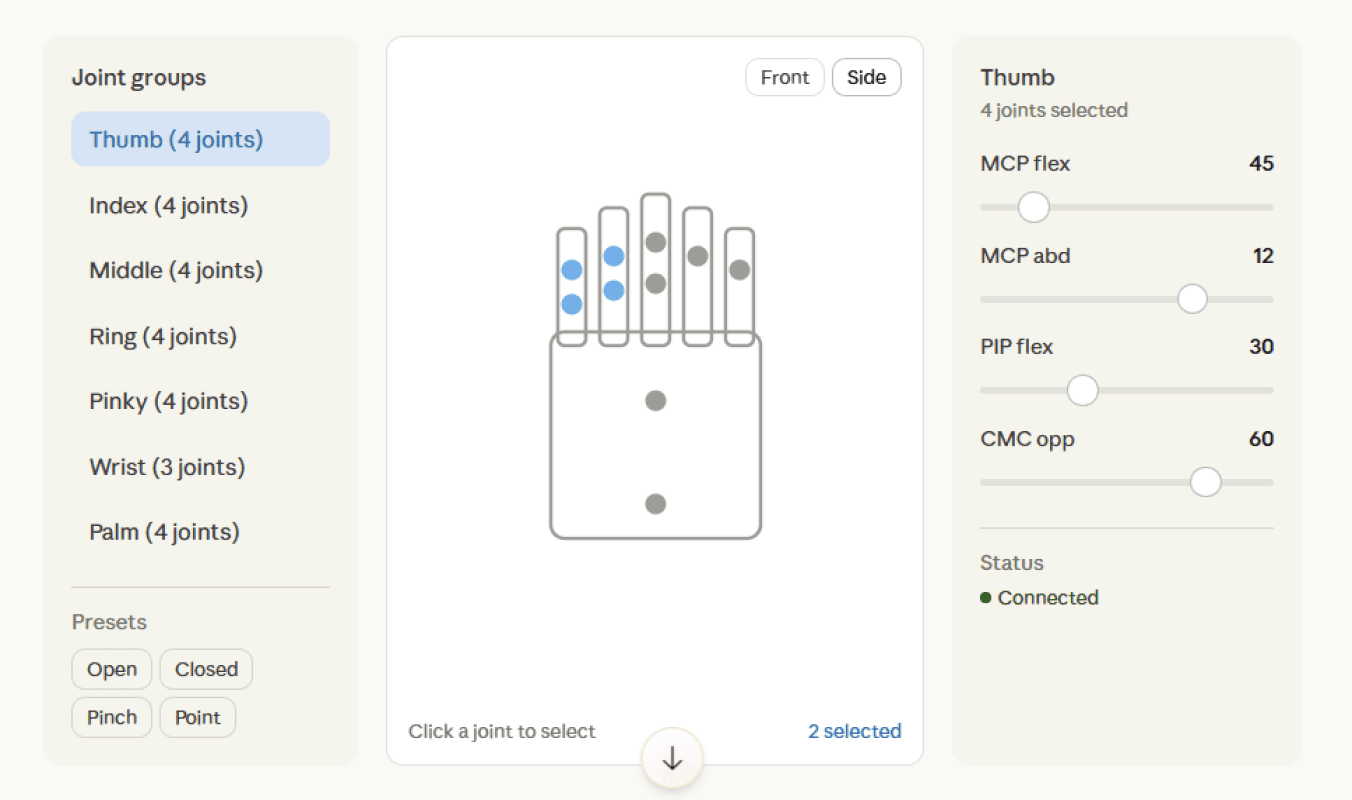
 A live, interactive control interface for exploring and manipulating the robotic hand. Designed to feel familiar to users of other canvas-based applications like Blender, AfterEffects, and Figma.

 A live, interactive control interface for exploring and manipulating the robotic hand. Designed to feel familiar to users of other canvas-based applications like Blender, AfterEffects, and Figma.

Design Process - Onboarding

Design Process - Onboarding

Competitive Audit

Without direct competitors to reference, we mapped flows and audited existing systems, focusing on hardware and software system integration to identify what patterns best support user clarity, control, and comprehension.

Distilling Insights into Design Principles

Distilling Insights into Design Principles

I led my team through defining a set of guiding principles for the project — what we wanted every design decision to carry forward, and just as importantly, what we wanted to actively avoid.

From Principles to User Flow

From Principles to User Flow

We then translated those principles, along with our flow audits, into a user flow we defined from the ground up.

UX principles at play

Drew layout and interaction inspiration from other common apps to preserve user mental models.
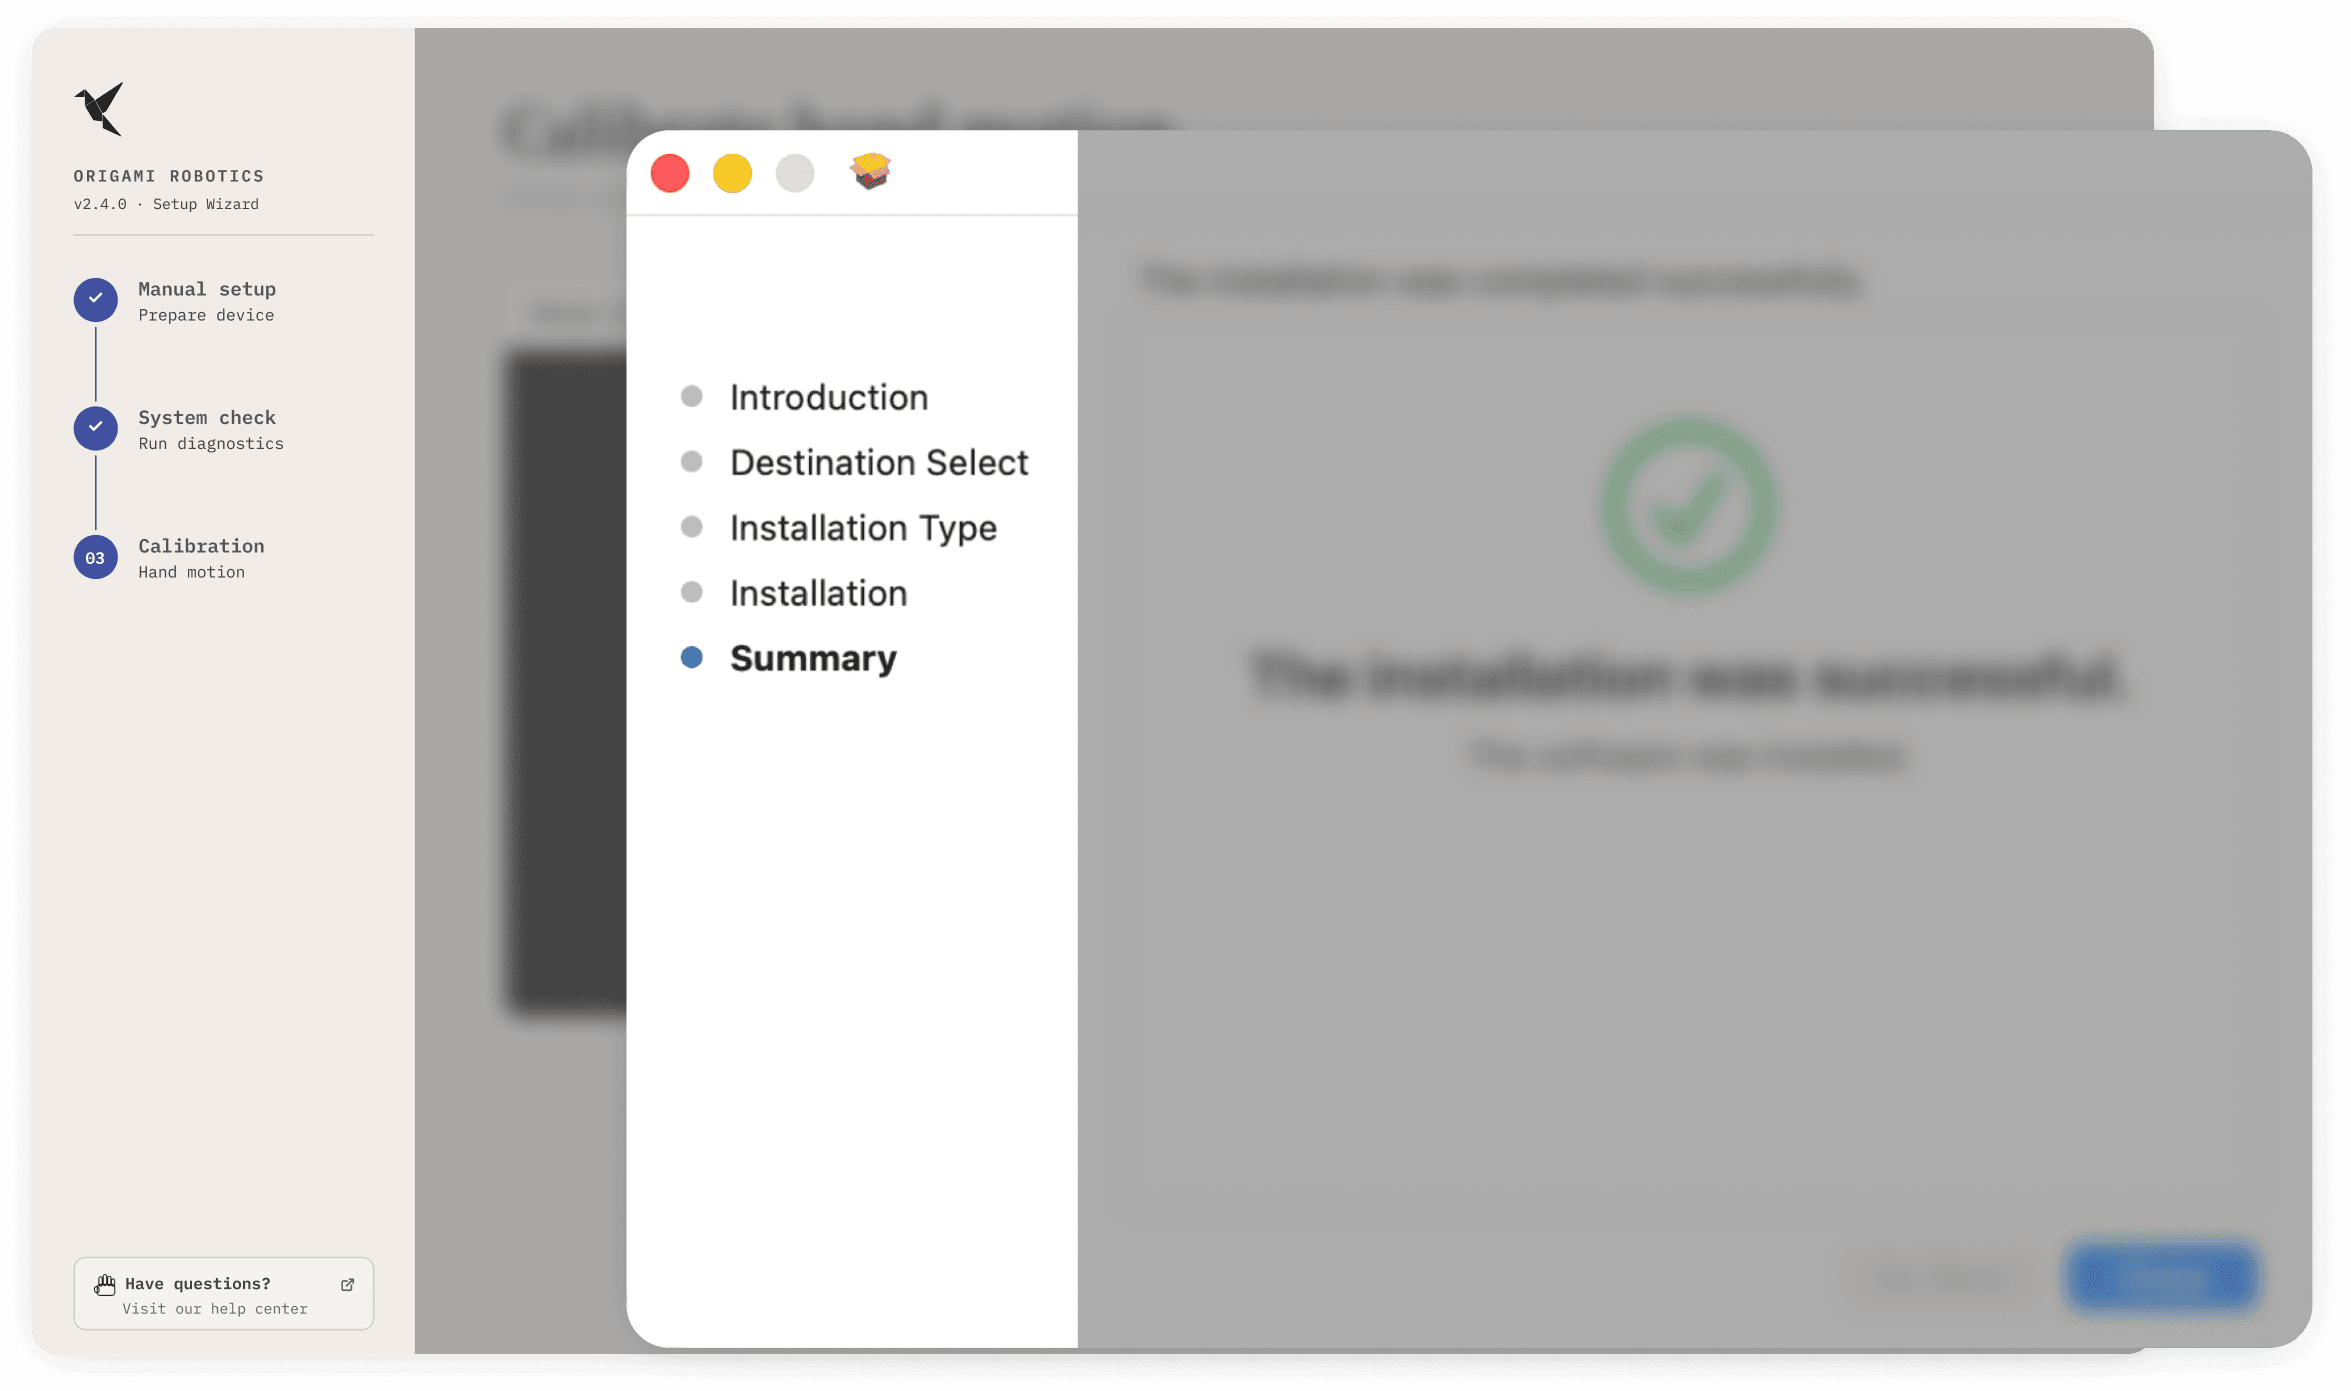
Apple Installation package wizard served as inspiration for the vertical progress bar on the onboarding layout.

Added motion and feedback throughout to create a flow that felt not just simple to use, but genuinely delightful.

Added motion and feedback throughout to create a flow that felt not just simple to use, but genuinely delightful.

Pictured above: Manus metaglove product analyzed during our competitive analysis.

1 Check failed.

Resolve the errors below or contact support before proceeding to calibration.

Resolve Errors

Signal integrity

Signal integrity failed

The signal between the device and this computer is unstable or below the expected threshold. This is often caused by a cable issue or interference from nearby hardware. Learn more


To fix:

Check that the interface cable is fully inserted at both ends.

Try a different USB port or interface socket if available.

Move the device away from other powered hardware that may cause interference.

Run diagnostics again.

Motor response failed

Sensor array check in progress

This may take up to 30 seconds. If it fails, check that all finger cables are firmly seated.

Communication

Testing USB/serial latency and packet integrity

Error

Error

Ideating with AI

Ideating with AI

Design Process - Playground

Design Process - Playground

A summary of key decisions and highlights that brought this PRD to life

Drawing inspiration from commonly used interfaces

Without direct competitors, we mapped flows and audited existing systems, focused on hardware and software system integration to identify what patterns best support user clarity, control, and comprehension.

SIDEBAR

SIDEBAR

CANVAS

CANVAS

INSPECTOR

INSPECTOR

Through research, we identified the key features that would simplify how users interacted with the robotic hand.

TOOLBAR

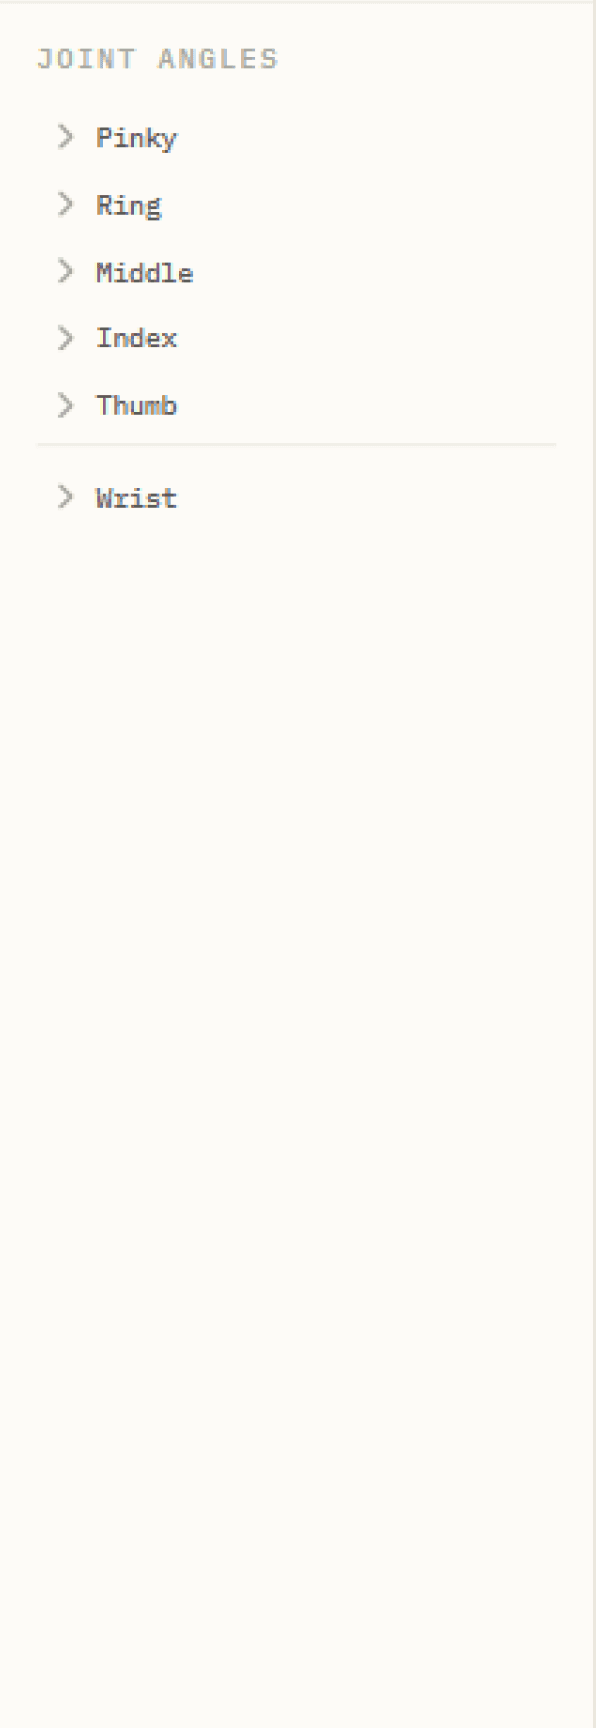
JOINT ANGLES

PRESETS

SYSTEM STATUS

HAND CANVAS

SEQUENCES

Key Features

Feature 01

Manual Hand Interaction

Mouse & keyboard controls, AI ideation

Feature 02

Hand presets to save time

Presets and custom interactions.

Feature 03

Fine grain joint manipulation

Mouse and degree input fields to manipulate hand interactions

Behind the scenes of how this was prototyped

Using Claude to prototype

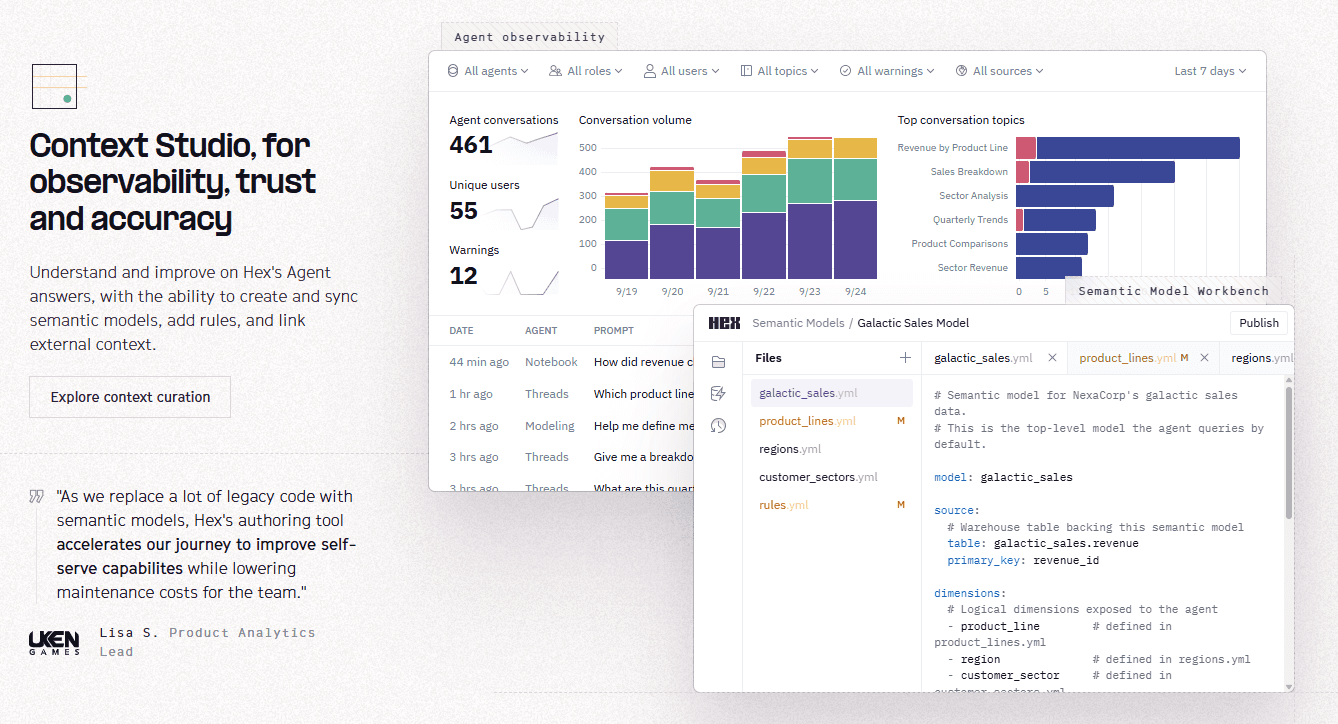
Opportunity: Enable smart queries + automated insights

Key Features

Feature 01

Manual Hand Interaction

UX principle: Multiple interaction modalities for accessibility/grips

Mouse & keyboard controls, AI ideation

Feature 02

Hand presets to save time

UX principle: Save users time with presets for repeatable and oft-used interactions

Presets and custom interactions.

Feature 03

Fine grain joint manipulation

Drop down menus to prevent cognitive overload from multiple visible controls

Mouse and degree input fields to manipulate hand interactions

Behind the scenes of how this was prototyped

Using Claude to prototype

No flexible filtering, no automation, no trend detection

Opportunity: Enable smart queries + automated insights

JOINT ANGLES

Pinky

MCP

PIP

DIP

Ring

MCP

PIP

DIP

Middle

MCP

PIP

Wrist

ROT

ORIGINAL

REFERENCE

FINAL

Direct click + drag

Most intuitive for spatial thinkers

Click a joint on the hand visualization, then drag to

bend it. Vertical drag = flex/extend, horizontal drag =

abduction. Hold Shift to drag multiple joints together.

drag to flex

Modifiers

Click + drag

Single joint

Shift + drag

Whole finger

Ctrl + drag

Mirror to other hand

Alt + drag

Constrain axis

Keyboard mapped

Fastest for precision work

Each finger maps to a key. Press to select, use arrow

keys to adjust angle. Like an instrument — muscle

memory builds fast.

Select finger

Q

W

E

R

T

Pinky Ring Mid Index Thumb

Select joint

1

2

3

4

MCP PIP DIP Tip

Adjust

Flex / extend

Abduct / adduct

Quick actions

Space

Toggle curl

Z

Undo

0

Reset

Scroll wheel per-joint

Low friction, eyes stay on hand

Hover over a joint on the hand, then scroll to adjust

its angle. The fastest single-joint adjustment method.

Input

Behavior

Step

Hover + scroll

Single joint angle

5 deg

Shift + scroll

Fine control

1 deg

Ctrl + scroll

All joints on finger

5 deg

Right-click context menu

Discoverable power features

Right-click any finger or joint to get contextual

actions. Keeps the UI clean while surfacing power

features on demand.

Set exact angle...

N

Copy finger pose

Ctrl+C

Paste to ring finger

Ctrl+V

Mirror to right hand

M

Lock joint

L

These aren't mutually exclusive — they layer together

Click+drag for spatial exploration, keyboard for speed, scroll for quick tweaks, right-click for power actions.

Users naturally discover each layer as they get more comfortable.

Key Features

Feature 01

Manual Hand Interaction

Mouse & keyboard controls, AI ideation

Feature 02

Hand presets to save time

Presets and custom interactions.

Feature 03

Fine grain joint manipulation

Mouse and degree input fields to manipulate hand interactions

Behind the scenes of how this was prototyped

Using Claude to prototype

Opportunity: Enable smart queries + automated insights

JOINT ANGLES

Pinky

MCP

PIP

DIP

Ring

MCP

PIP

DIP

Middle

MCP

PIP

Wrist

ROT

ORIGINAL

REFERENCE

FINAL

Direct click + drag

Most intuitive for spatial thinkers

Click a joint on the hand visualization, then drag to

bend it. Vertical drag = flex/extend, horizontal drag =

abduction. Hold Shift to drag multiple joints together.

drag to flex

Modifiers

Click + drag

Single joint

Shift + drag

Whole finger

Ctrl + drag

Mirror to other hand

Alt + drag

Constrain axis

Keyboard mapped

Fastest for precision work

Each finger maps to a key. Press to select, use arrow

keys to adjust angle. Like an instrument — muscle

memory builds fast.

Select finger

Q

W

E

R

T

Pinky Ring Mid Index Thumb

Select joint

1

2

3

4

MCP PIP DIP Tip

Adjust

Flex / extend

Abduct / adduct

Quick actions

Space

Toggle curl

Z

Undo

0

Reset

Scroll wheel per-joint

Low friction, eyes stay on hand

Hover over a joint on the hand, then scroll to adjust

its angle. The fastest single-joint adjustment method.

Input

Behavior

Step

Hover + scroll

Single joint angle

5 deg

Shift + scroll

Fine control

1 deg

Ctrl + scroll

All joints on finger

5 deg

Right-click context menu

Discoverable power features

Right-click any finger or joint to get contextual

actions. Keeps the UI clean while surfacing power

features on demand.

Set exact angle...

N

Copy finger pose

Ctrl+C

Paste to ring finger

Ctrl+V

Mirror to right hand

M

Lock joint

L

These aren't mutually exclusive — they layer together

Click+drag for spatial exploration, keyboard for speed, scroll for quick tweaks, right-click for power actions.

Users naturally discover each layer as they get more comfortable.

Branding

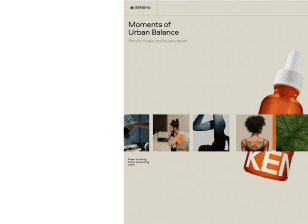
In preparation for Origami Robotics' Demo Day, I helped lead the team's exploration of a visual direction that could communicate the company's technical vision while establishing a more distinctive brand.

Origami starts with a single fold.

01

02

Blow Up

03

04

Modularity

System

Grid

Scale

System-Driven

Engineered

Exploring brand direction

I led moodboard ideation, contributing 6+ visual directions and helping the team align on the look and feel we wanted to pursue.

01

02

Blow Up

03

04

Modularity

System

Grid

Scale

01

02

Blow Up

03

04

System-Driven

Engineered

Origami starts with a single fold.

Pictured above: concepts I created for the brand.

AI-assisted asset creation

From there, I supported asset creation through both hands-on and AI-assisted exploration. I joined the team in person for a video and photo shoot. I used AI tools to enhance, elevate, and expand 20+ visual assets, rapidly testing different concepts, compositions, and expressions of the brand.

Brand book compilation

From there, I supported asset creation through both hands-on and AI-assisted exploration. I joined the team in person for a video and photo shoot. I used AI tools to enhance, elevate, and expand 20+ visual assets, rapidly testing different concepts, compositions, and expressions of the brand.

Website

The landing page was created using the visual direction and guidelines established through the brand book.

Reflections on usage of AI in this process

Reflections on usage of AI in this process

AI-assisted design workflows

Increase the speed of exploration with AI

Increase the speed of exploration with AI

Let's set up your robotic hand.

Let's set up your robotic hand.

Begin

Begin

ORIGAMI ROBOTICS

ORIGAMI ROBOTICS

v2.4.0 · Setup Wizard

v2.4.0 · Setup Wizard

ORIGAMI ROBOTICS

ORIGAMI ROBOTICS

v2.4.0 · Setup Wizard

v2.4.0 · Setup Wizard

Manual setup

Manual setup

Prepare device

Prepare device

System check

System check

Run diagnostics

Run diagnostics

02

02

Calibration

Calibration

Hand motion

Hand motion

03

03

Have questions?

Visit our help center

Have questions?

Visit our help center

Run system diagnostics

Run system diagnostics

Testing each subsystem automatically. Review any failures before continuing.

Testing each subsystem automatically. Review any failures before continuing.

Prototype early and often, to make prototypes you can feel

Prototype early and often, to make prototypes you can feel

Use interactivity of prototypes to get better feedback earlier for your next iterations.

Use interactivity of prototypes to get better feedback earlier for your next iterations.

“This vertical layout may be more scalable than our horizontal layout longterm.”

“This vertical layout may be more scalable than our horizontal layout longterm.”

“This vertical layout may be more scalable than our horizontal layout longterm.”

Reflection

AI was especially valuable in this project as a tool for expanding the range and speed of exploration. It allowed me to quickly translate early ideas into tangible visual directions, iterate across concepts, and elevate existing assets without investing heavily in each individual direction. At the same time, the project reinforced that speed of generation doesn't replace design judgment. The most important work was still deciding what felt right for Origami, identifying which outputs supported the brand we were building, and refining those ideas into a cohesive system. I came away seeing AI less as a shortcut to a finished product and more as a way to create more possibilities for a designer to evaluate, direct, and build upon.

Let’s work together!

Made by Deyshna Pai 2026

Let’s work together!

Made by Deyshna Pai 2026

Let’s work together!

Made by Deyshna Pai 2026